There are several reasons why we would want to apply a patch in a Drupal project, but the two most common ones are because we want to somehow modify the Drupal core, a contrib module, or a contrib theme (from now on, I will use only the word module, but it always refers to all three things) without directly hacking the files. Directly changing files is always a bad solution because all our changes will be deleted with the next update!
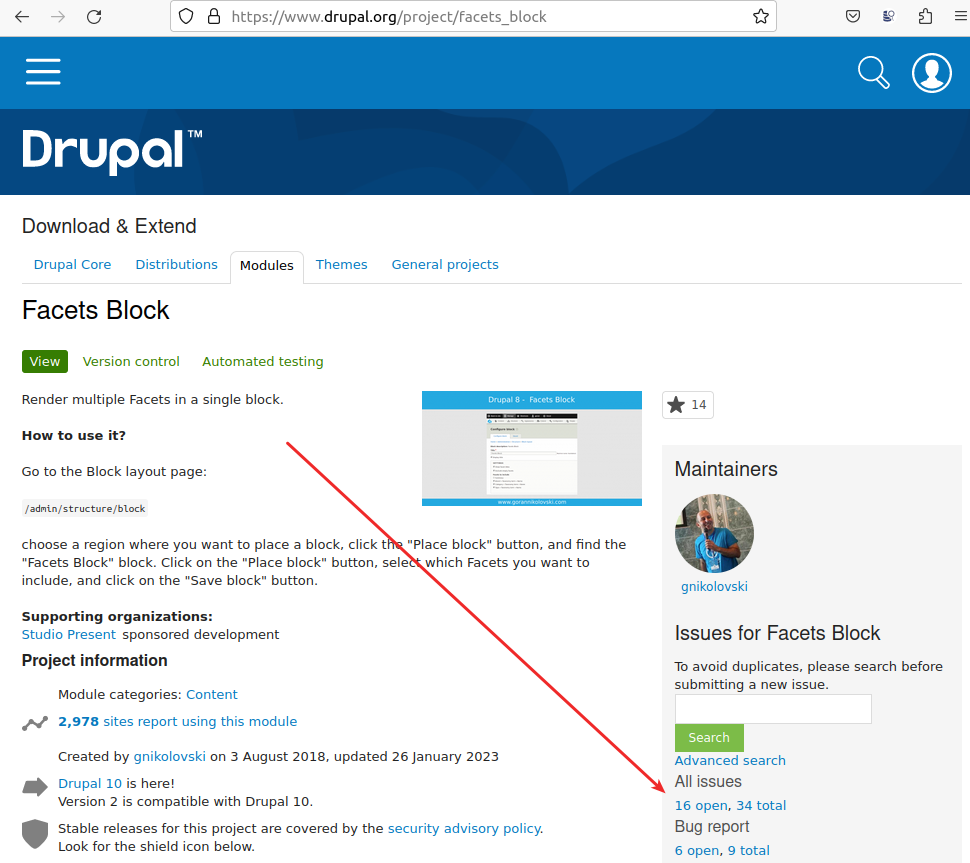
The second reason is to improve something or fix a bug in the module that the author has not already done, but someone else has. Usually, if we go to a Drupal.org module page, in the issues, we will see various things that someone may have solved and offered a patch, but the module author has not yet merged it for one reason or another.
There is another reason, which is actually a variation of the second reason, and it is important to know now that Drupal 10 has been released. It is applying a patch to make a module compatible with version 10, even though it is not currently compatible. The procedure for this is slightly different from the standard procedure.
How to apply a patch?
The first important thing is to know that any change to someone else's code that we are not fully familiar with can lead to problems. In other words, there may be a good reason why the module author has not accepted the change. Therefore, always read all the comments in the issue list carefully.
If we are sure of what we are doing, then we can proceed with patching the module. The process involves using Composer to apply the patch. It is also necessary to install the following package if your project doesn't already contain it:
composer require cweagans/composer-patches
Once we install the package, all that remains is to add the appropriate configuration to the extra section of the main composer.json file of your project. For example, if we want to patch the Pathauto module with this patch then we have to add the following (take a look at the extra/patches section):
...
"require": {...},
"require-dev": {...},
"extra": {
    "patches": {
        "drupal/pathauto": {
            "Issue #3275041": "https://www.drupal.org/files/issues/2022-04-13/add_bypass_uniquifier_settings-3275041-2.patch"
        }
    },
    "drupal-scaffold": {...},
    "installer-paths": {...}
}
...
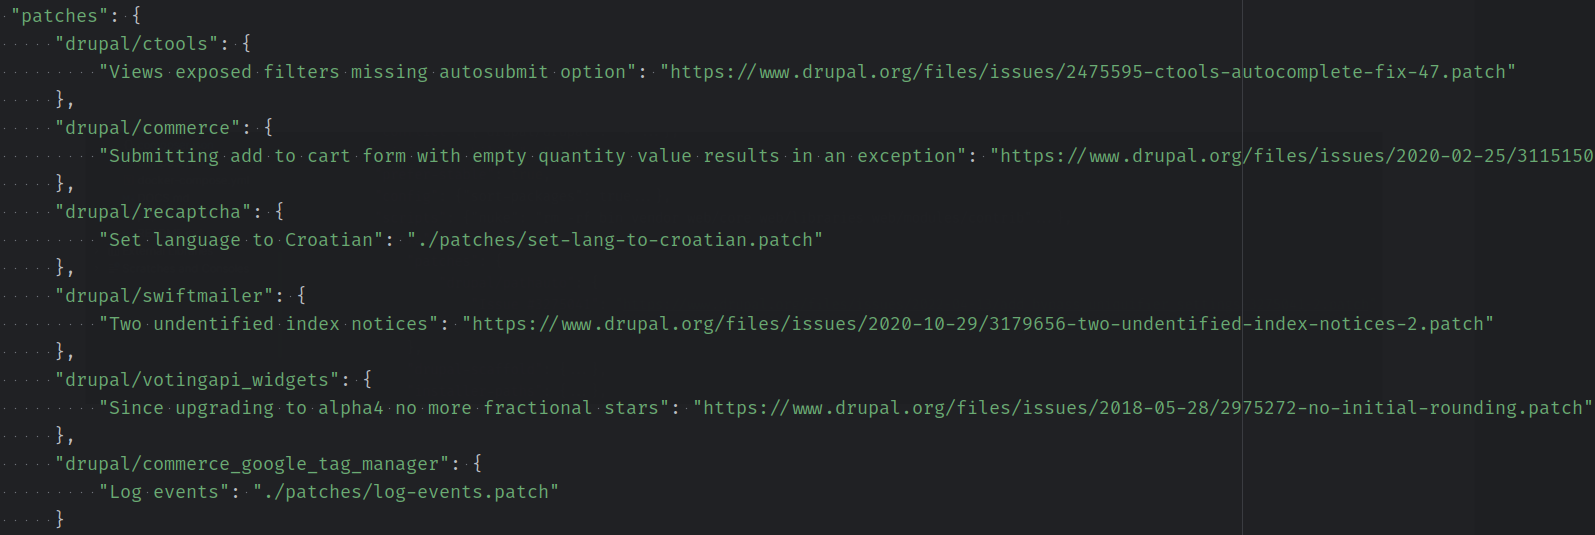
The description of the patch can be anything you want, I used Issue #3275041, but you can also use the title or URL of the issue. To patch another module just add a new key in the patches section. To patch the core use drupal/core key. If you have a lot of patches for several different modules that might look something like this:
The patch or patches will be applied after running the Composer require, install, or update commands. That means you can first add a patch to the composer.json file and then use composer require drupal/MODULE_NAME to install the module. Or you can add a patch to the already installed module and then execute composer update drupal/MODULE_NAME command.
As you can see in the screenshot above, patches can be remote or local. For remote patches just specify the URL of the patch file, and for local patches specify the path to the patch file. Usually, I put all my patches in the patches directory located in the project's root at the same level as the composer.json file.
I've already written about how to apply a patch to make a module compatible with Drupal 10, so I won't repeat myself here; instead, please refer to that blog post.
Should I lock the module version?
Usually, a patch is created only for a specific version of a module. This means the same patch will likely not work for a new version. And that can be a problem. Therefore, one solution is to lock the module version in the composer.json file. That way, we are sure that we will always have a properly patched module.
But that obviously can lead to outdated modules. If you choose not to lock a version, then you have to take extra care during updates to make sure that all patches are applied. If some patches fail, you will have to find a new version of the patch or do something else like maybe create a new version of the patch yourself.
Just to make sure that you know how to lock a version, this is the unlocked version:
"drupal/webform": "^6.0"
and this is a module locked to a specific version:
"drupal/webform": "6.1.4"
This refers to the version constraint in the composer.json file.
In case Composer cannot apply the patch successfully, you will receive an error that looks something like this:
Could not apply patch! Skipping. The error was: Cannot apply patch https:...
An example of unsuccessful patching of the Node View Permission module with Composer:
In such cases, check the issue queue and try to determine if you have the correct patch for the version of the module you are using.
How to apply a patch manually?
If you don't use Composer to manage your dependencies, there is an option to manually edit the required files. Just be aware that when you update modules next time, you'll need to do everything manually again.
Open the patch, and there you'll find the file names you need to modify, as well as the lines you need to delete (marked with a minus sign -) and the lines you need to add (marked with a plus sign +).
This isn't difficult to do if there are only a few changes to make, but for a large patch, this can be a quite tedious process.
You can also apply the patch using Git. Clone the module, specifically the version for which the patch was created, then download the patch file, place it in the module directory, and run the following command in the terminal:
git apply PATCH_NAME.patch
That's all for this time; see you in the next blog post and happy patching.


