Adding automated tests to small or create-and-forget projects probably doesn't make sense. You will spend additional time writing those tests, and this will only increase the project's cost. And you will get almost nothing in return.
But, if you are working on a project that will be maintained in the future and new features will be added on a regular basis, then you most certainly need to add automated tests. Adding tests will protect your website from breaking (or at least it will decrease the chance of that happening) when you introduce new features or when you update a 3rd party library. Tests will make sure that the stability of your application is not jeopardized at any point in time during the application lifetime.
There are several options for writing tests for Drupal 8 and 9 websites. One of them is Behat. Behat is great and easy to learn and use. Since these tests are written in plain English language, you can assign your site builders or QA persons to write them.
Behat is testing your site by visiting it and performing each step you described in your test files. For example, you can test if the user login form is working as expected, or you can test if the footer of your site contains some specific copyright text. Behat can test your site just as a regular person can but in a consistent, repeatable and much faster way.
How to add Behat tests to Drupal 8 and 9?
1. Installing required packages
Adding Behat automated tests to your Drupal project is super easy. The first thing that you need to do is to install the following packages with Composer:
composer require --dev behat/behat:3.3 dmore/behat-chrome-extension drupal/drupal-extension
I'm using Behat version 3.3 because the latest version has some issues.
2. Initial setup
After you have installed packages, you must execute the init command. CD to the root of your application and execute this:
vendor/bin/behat --init
This will create the features/ directory in the root of your project.
3. behat.yml
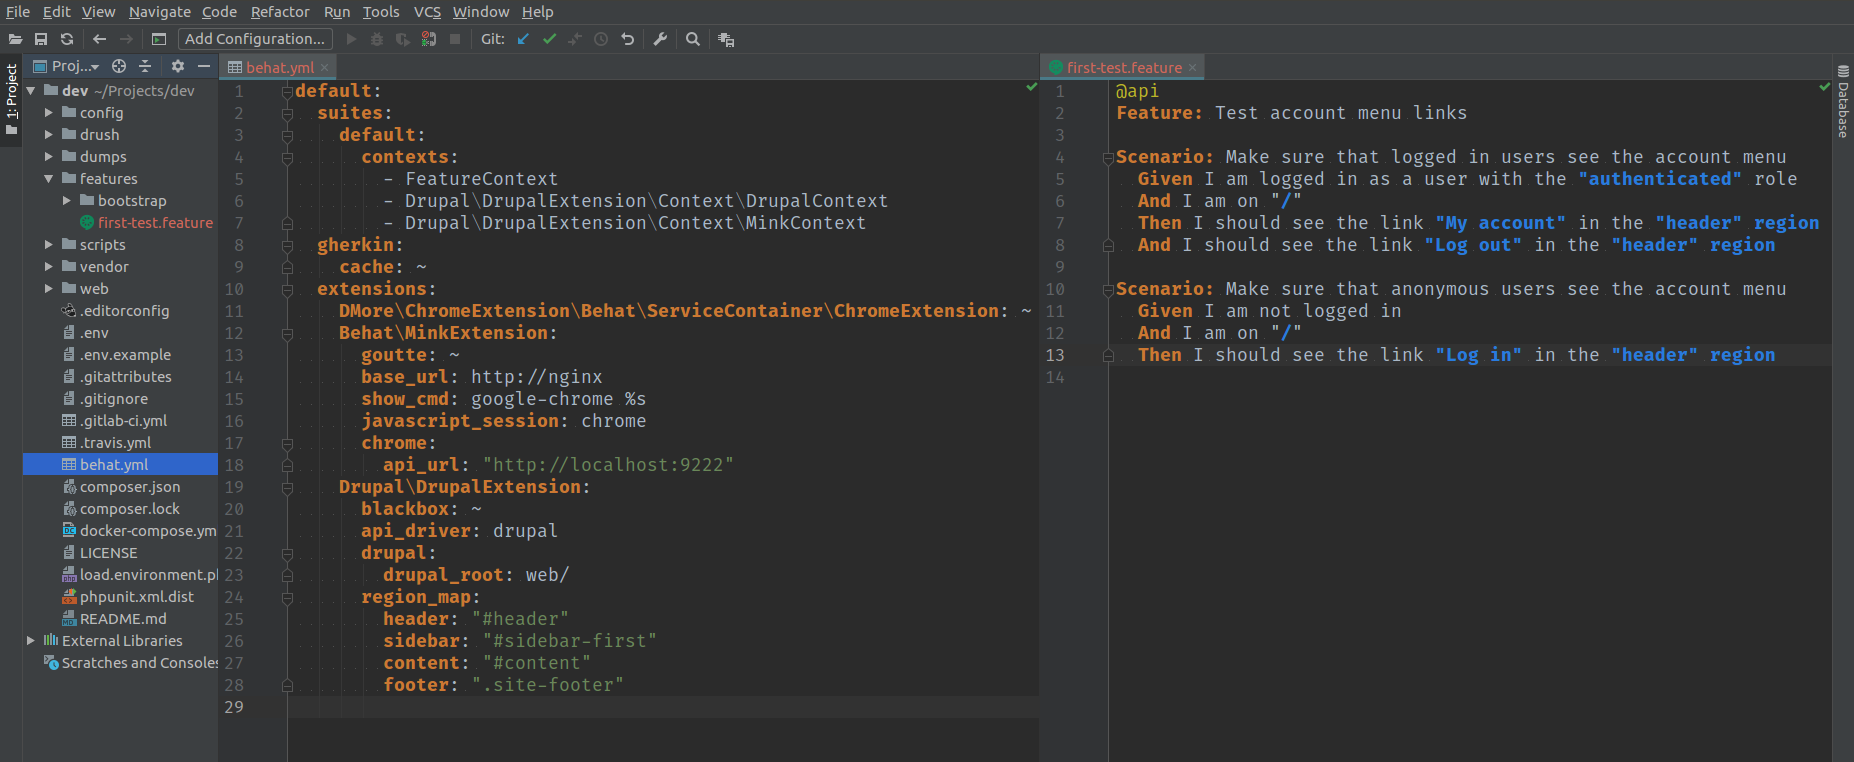
The next step is to add a behat.yml file to the root of your project. Since I'm using Docker4Drupal and I execute my tests from the PHP container, the base_url of my website is http://nginx. If you are using something else for local development, you may need to change this value.
default:
  suites:
    default:
      contexts:
        - FeatureContext
        - Drupal\DrupalExtension\Context\DrupalContext
        - Drupal\DrupalExtension\Context\MinkContext
  gherkin:
    cache: ~
  extensions:
    DMore\ChromeExtension\Behat\ServiceContainer\ChromeExtension: ~
    Behat\MinkExtension:
      goutte: ~
      base_url: http://nginx
    Drupal\DrupalExtension:
      blackbox: ~
      api_driver: drupal
      drupal:
        drupal_root: web/
      region_map:
        header: "#header"
        sidebar: "#sidebar-first"
        content: "#content"
        footer: ".site-footer"
If you take a closer look at this file, you'll see that the last key in it is region_map. This is where you can define your theme regions by adding a region name and an appropriate CSS selector. By adding the regions list here, you can target specific regions in your tests.
4. Add tests
Finally, we have everything we need to add some tests. Inside the features/ directory in the project root add a new file named first-test.feature
Add the following lines to this file:
@api
Feature: Test account menu links

Scenario: Make sure that logged in users see the account menu
  Given I am logged in as a user with the "authenticated" role
  And I am on "/"
  Then I should see the link "My account" in the "header" region
  And I should see the link "Log out" in the "header" region

Scenario: Make sure that anonymous users see the account menu
  Given I am not logged in
  And I am on "/"
  Then I should see the link "Log in" in the "header" region
As you can see this is plain English. There are two scenarios. In the first scenario, we are testing if authenticated users can see the account menu with My account and Log out links, and in the second scenario we are testing if anonymous users can see the same menu but with the Log in link.
The possibilities are endless. You can write tests for almost everything that comes to your mind. My advice is that you should at least have tests for the most important things. Let's say that you have a webshop. You should definitely have tests for adding products to the cart and then for the entire checkout process.
5. Execute tests
You can execute all tests with
vendor/bin/behat
or just tests from a specific file with
vendor/bin/behat features/first-test.feature
One final note. You should use Behat only for writing acceptance tests. For everything else, it's much better to use PHPUnit. Check out this great article about the correct way of using Behat.
Updated: November 21, 2019.
Sometimes you may need to test Javascript-related stuff. For example, you might want to test your new widget that has an autocomplete field. To be able to test these with Behat, you must enable the javascript session. You can do this by modifying the Behat\MinkExtension session in your behat.yml file like this:
default:
  suites:
    default:
      contexts:
        - FeatureContext
        - Drupal\DrupalExtension\Context\DrupalContext
        - Drupal\DrupalExtension\Context\MinkContext
  gherkin:
    cache: ~
  extensions:
    DMore\ChromeExtension\Behat\ServiceContainer\ChromeExtension: ~
    Behat\MinkExtension:
      goutte: ~
      base_url: http://nginx
      javascript_session: selenium2
      selenium2:
        wd_host: http://chrome:9515
        capabilities: { 'chrome': {'switches':['--start-maximized','--disable-gpu','--headless']}}
    Drupal\DrupalExtension:
      blackbox: ~
      api_driver: drupal
      drupal:
        drupal_root: web/
      region_map:
        header: "#header"
        sidebar: "#sidebar-first"
        content: "#content"
        footer: ".site-footer"
Don't forget to tag your Javascript tests like this:
@javascript
Scenario: Test my fancy autocomplete widget


