Just as Google Analytics has its server-side system for tracking users, which I have previously written about and is called the Measurement Protocol (Google Analytics 4), Facebook/Meta also has its server-side analytics system. It is called Conversions API.
The story is almost the same: instead of events being sent from the browser, they are sent from the backend, meaning the communication between your server and Meta's server is direct. The pixel that is placed in the browser is easier to implement, but tracking events through the Conversions API provides greater accuracy and better control over the data.
Additionally, you are not hindered by various browser extensions that can block your event tracking. All of this will contribute to better targeting and optimization, as well as gaining better insights into campaign performance.
Meta has its own PHP SDK that you can use for building and sending events to Meta servers, making implementation in PHP somewhat easier. This SDK is the Facebook Business SDK for PHP, and is available at https://github.com/facebook/facebook-php-business-sdk. It is designed to facilitate various integrations with Meta APIs, including the Conversions API.
Table of contents
Introduction
For my wife's website, I created a completely new Drupal module that implements the Conversions API using the Facebook Business SDK. In the Drupal contrib world, there isn't a module for Drupal versions 9, 10, and 11 that covers the necessary events to successfully track a purchase on a Commerce site. That's why I decided to create an entirely new module, which also helped me deepen my understanding of how the Conversions API works.
For now, the events that my module supports are:
- PageView - sent directly from the browser
- ViewContent - sent from the server when a user views a product
- AddToCart - sent from the server when someone adds a product to the cart
- InitiateCheckout - sent from the server when someone initiates a checkout on the site
- Purchase - sent from the server when someone completes a purchase on the site
As you can see, the PageView event is still sent from the browser. This is because, to implement the Conversions API, we still need a browser-side Pixel to track users and save the appropriate cookies in the browser.
While the PageView event can also be sent via the Conversions API, I chose not to add this because it would require additional handling for event deduplication, as the same event would be sent from both the browser and the server.
This module actually consists of two parts. The basic version, which supports PageView, ViewContent, and AddToCart events, is completely free. The Plus version, which supports InitiateCheckout and Purchase events, is not free. To use it, you need to pay an amount equivalent to two hours of my work on the module. This fee is an investment in further improvements to the module. For more information, check here.
Requirements
For this module to function properly, it requires the installation of both the Drupal Commerce and State Machine modules.
To enable the InitiateCheckout event, you must install the following Drupal Commerce patch: Introduce a checkout init event. If you are not sure how to patch the module, check my guide on how to patch a Drupal module.
Installation
You can download the module by clicking here or install it using Composer:
composer require gnikolovski/capi
To make updating the module easier in the future, I recommend installing the module using Composer.
Configuration
Unlike the browser Meta Pixel, where only the Pixel ID is needed, the Conversions API also requires an access token.
To generate it, go to Meta's Events Manager and select your project (2) in Data Sources (1). Then, in the Settings tab, find the section called Set up direct integration. To generate the access token, click on the Generate access token link (3).
It's possible that by the time you read this text, there might have been some changes in Meta's interface, so you may need to find your own way to generate the required token.
At that point, the access token should be generated, which you need to copy into the module configuration on the page: /admin/config/services/meta-conversions-api
Next, configure how you want the product price to be calculated and for which user roles the pixel will be added to the site.
In the Advanced section, you can set whether you want to log events in Drupal. If you want to log responses in Drupal, make sure not to select Async push as the option in the Push type settings, because in that case, Drupal will only send the request and won't wait for a response.
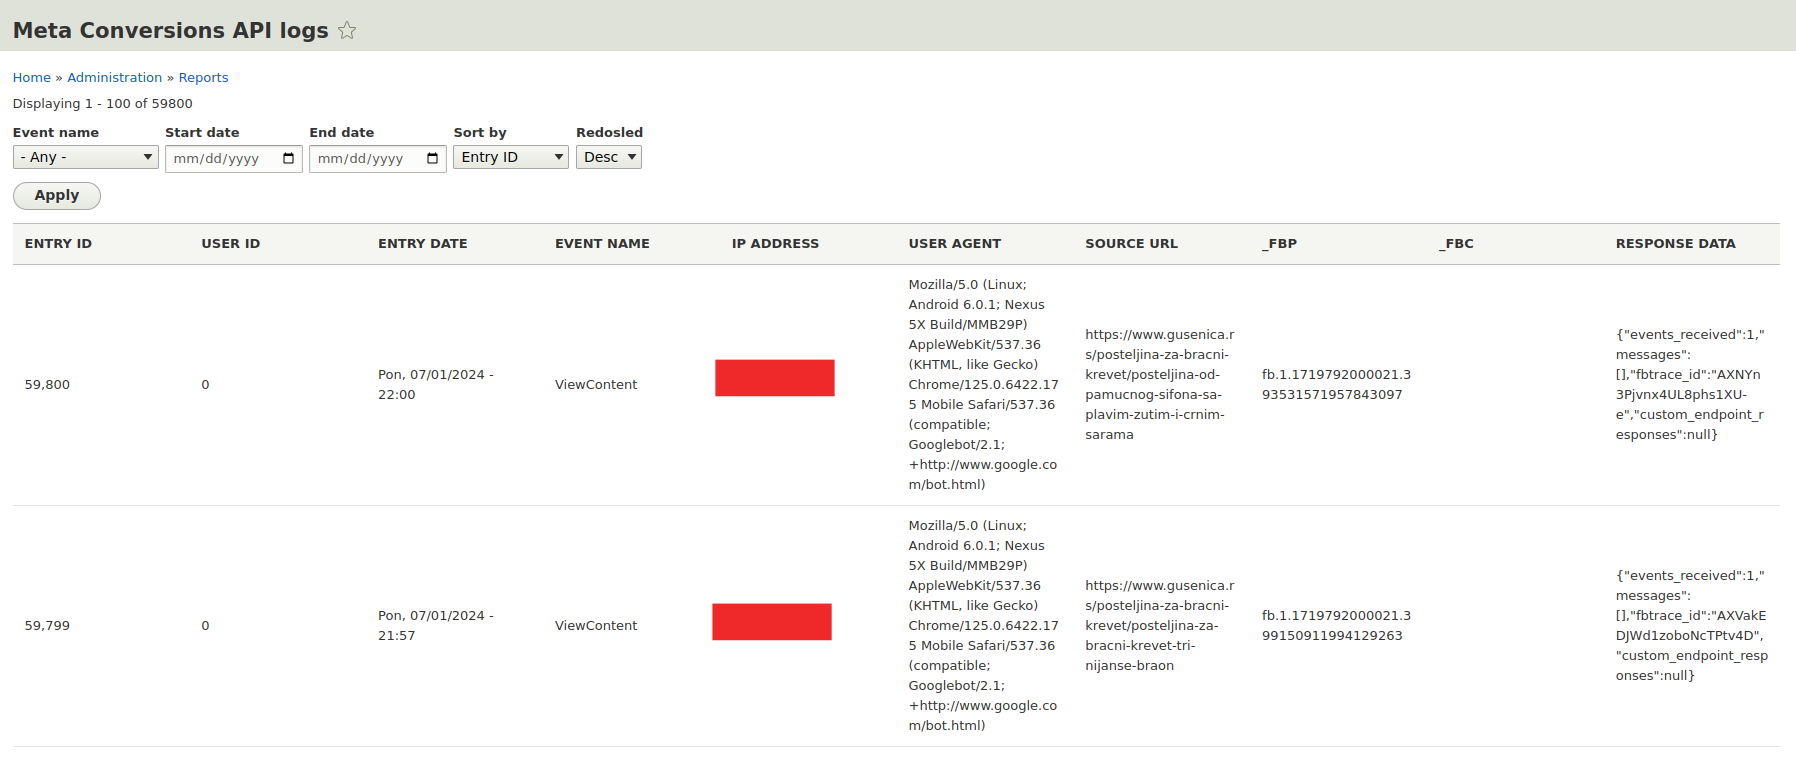
The log with the data the module sends and receives is located at the following page: /admin/reports/meta-conversions-api. You can filter it by event name and date. You can only see this log if you have the Plus version of the module installed.
That briefly covers everything you need to know about the module. If you have any questions, shoot me a message.
Do you need help configuring Conversions API for Drupal?
Maximize your website's potential with my expert help in configuring the Conversions API for Drupal. Contact me today to enhance your data tracking and improve your marketing strategies!


